
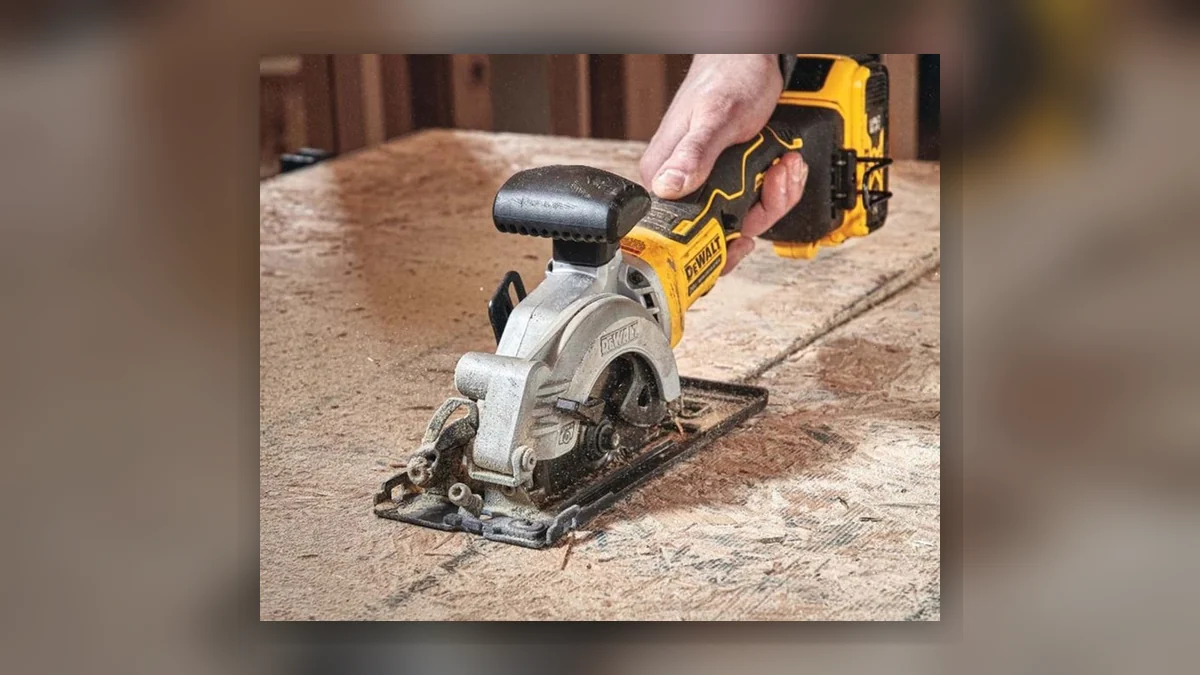
A cordless circular saw and a drill driver are the two tools most DIYers already own, and yet most weekend projects sold to that audience assume a table saw, a mitre saw, and a workshop to put them in. That is not how most people build things at home. This guide covers three genuinely useful builds you can complete with just those two tools: a heavy-duty workbench, a set of floating shelves, and an outdoor planter box. Each one is scoped for a garage, driveway, or garden, using sheet and dimensional timber from any UK builders' merchant.
What you actually need before you start
Saw: any cordless circular saw with a 165mm (6½-inch) blade will cover all three projects. A track or straight-edge guide is worth having, since a hand-held circular saw drifts off line more easily than a table saw. A cheap aluminium straight edge clamped to the workpiece solves most of that problem.
Drill driver: for pilot holes, countersinking, and driving screws. A second battery and a spare drill/driver bit set (Pozi/PZ2 is standard for UK screws) will save you stopping mid-cut.
Blade choice: a 24-tooth thin-kerf blade for fast, rough rip cuts in dimensional timber; a 40 to 60-tooth blade if you want cleaner edges on visible cuts, particularly on plywood or MDF where tear-out is more visible.
Set the cutting depth correctly. The blade should protrude no more than 6 to 10mm below the material being cut. This is not just a finish issue: a blade set too deep binds more easily, kicks back harder, and blunts faster from cutting into the surface underneath (a sacrificial board or the driveway). Check the depth against the material every time you change stock thickness.
Clamp everything. A hand-held circular saw needs the workpiece secured on both sides of the cut line, on a stable surface (two sawhorses and a sacrificial sheet of OSB work well), so the offcut cannot pinch the blade as the cut completes.
---
Project 1: The heavy-duty workbench
A simple, strong bench you can build in a weekend from CLS or 2x4 timber and 18mm OSB or plywood.
Cut list (adjust to your garage/shed dimensions, this is for a 1800mm x 600mm bench at 900mm working height):
- 4 x legs, 850mm (allowing for the 50mm top thickness to reach 900mm total height)
- 4 x rails, 1700mm (long sides of the frame, inset 50mm from leg ends)
- 4 x rails, 500mm (short sides of the frame)
- Mid-height stretchers as needed for shelf storage, cut to match the short/long rail lengths
- 1 sheet 18mm OSB or plywood, cut to 1800mm x 600mm for the worktop
- Optional second sheet for a lower storage shelf
Build sequence: 1. Build the two end frames first: each is a rectangle of two legs and two short rails, screwed through pre-drilled pilot holes with 75mm coach screws or 4x70mm woodscrews. Countersink so screw heads sit flush. 2. Join the end frames with the long rails to form the full leg frame. Check square with a diagonal measurement before final fixing: both diagonals should match within 2 to 3mm. 3. Add a lower stretcher frame roughly 200 to 250mm off the floor if you want a storage shelf; this also stiffens the whole frame against racking. 4. Cut the worktop sheet to size using the circular saw with a straight edge, and fix it to the top frame with screws from underneath where possible, or countersunk from above if the top needs to be removable later. 5. Square the whole bench against the wall or floor, and add a diagonal bracing timber on the back if the bench will see lateral loads (vice work, planing).
Why this design works with just these two tools: every cut on this project is a straight rip or crosscut in dimensional timber or sheet material, well within what a circular saw with a guide handles accurately. There is no need for a mitre saw's precision angle cuts on a working bench frame.
Project 2: Floating shelves
Floating shelves look complex because the fixing is hidden, but the woodworking is simple: a box construction that slides over a cleat fixed to the wall.
Materials per shelf (example: 900mm wide shelf):
- 2 x 18mm plywood or MDF sides, ripped to your desired shelf depth (200 to 250mm is typical) and 900mm long
- 1 x plywood/MDF top and bottom, same dimensions
- 1 x internal cleat timber (a length of 45x45mm or similar), cut about 40mm shorter than the shelf width so it sits inside the box
- 1 x wall cleat, cut at a matching angle or as a simple ledger, screwed securely into wall studs or with appropriate wall fixings for masonry
Build sequence: 1. Rip all plywood/MDF pieces to width using the circular saw and straight edge. Use a fine-tooth blade (40 to 60 tooth) here since these cuts are visible on the finished shelf. 2. Build the shelf as a simple box: top, bottom, two sides, glued and screwed or pocket-screwed together, leaving the back open. 3. Fix the internal cleat inside the box, roughly 30 to 40mm back from the open rear edge, so it engages with the wall cleat when the shelf is slid into place. 4. Fix the wall cleat level, into studs where possible. For masonry walls, use appropriate wall plugs rated for the expected load. 5. Slide the shelf box over the wall cleat. The weight of anything placed on the shelf pulls the shelf down and back against the wall cleat, which is what keeps the fixing hidden and rigid.
Load expectations: a well-built 18mm ply floating shelf on a properly fixed cleat comfortably holds books, ornaments, and moderate everyday items. Do not rely on this design for genuinely heavy loads (a home gym setup, for example) without upsizing the cleat and fixings and consulting the wall fixing manufacturer's load ratings.
Project 3: Outdoor planter box
A straightforward box build using pressure-treated timber, sized to suit a patio or decking area.
Cut list (example: 1200mm x 400mm x 400mm high planter):
- 4 x corner posts, 400mm (or taller if you want legs to raise it off the ground)
- 2 x long side panels, cut from decking boards or featheredge to 1200mm lengths
- 2 x short side panels, cut to 400mm lengths
- 1 x base support frame, sized to sit inside the box roughly 50mm up from the bottom, so the base boards do not sit directly on wet ground
- Base boards with drainage gaps, or a cut sheet of exterior ply with drilled drainage holes and a liner
Build sequence: 1. Cut all timber to length with the circular saw. Pressure-treated softwood cuts easily with a standard blade; wear a mask when cutting treated timber, since the sawdust should not be inhaled or handled around food-growing areas without care. 2. Screw the corner posts to the long side boards first to form the two long faces of the box. 3. Join the two long faces with the short side boards to complete the box shape, screwing into the corner posts. 4. Fit the internal base support frame, then fix base boards on top of it with drainage gaps between boards, or use a drilled sheet material with a permeable liner. 5. Line the inside with a permeable landscape liner if growing directly in the box, to slow timber rot from constant soil contact, and finish the outside with an exterior wood treatment rated for ground or splash contact.
A note on treated timber and drainage: planters fail early almost always for one of two reasons: standing water against untreated end grain, or no drainage at the base. Pressure-treated timber, a lifted base with drainage gaps, and an exterior finish on cut ends will extend the life of the box significantly beyond an untreated, undrained version.
---
Getting accurate cuts from a hand-held circular saw
All three projects depend on straight, square cuts, which is the main thing a table saw offers that a circular saw does not automatically give you. Three habits close that gap:
1. Always cut with a guide. A clamped straight edge, whether a dedicated track saw guide rail or a simple length of aluminium box section, turns a hand-held circular saw into a tool that repeats an accurate line. 2. Mark and check the offcut side. Always confirm which side of the line the blade will remove material from before cutting, particularly on sheet material where a mistake wastes an expensive panel. 3. Support both sides of the cut. As the blade nears the end of the cut, both halves of the material need to remain supported so the workpiece does not sag and pinch the blade, which is both a safety and an accuracy issue.
---