
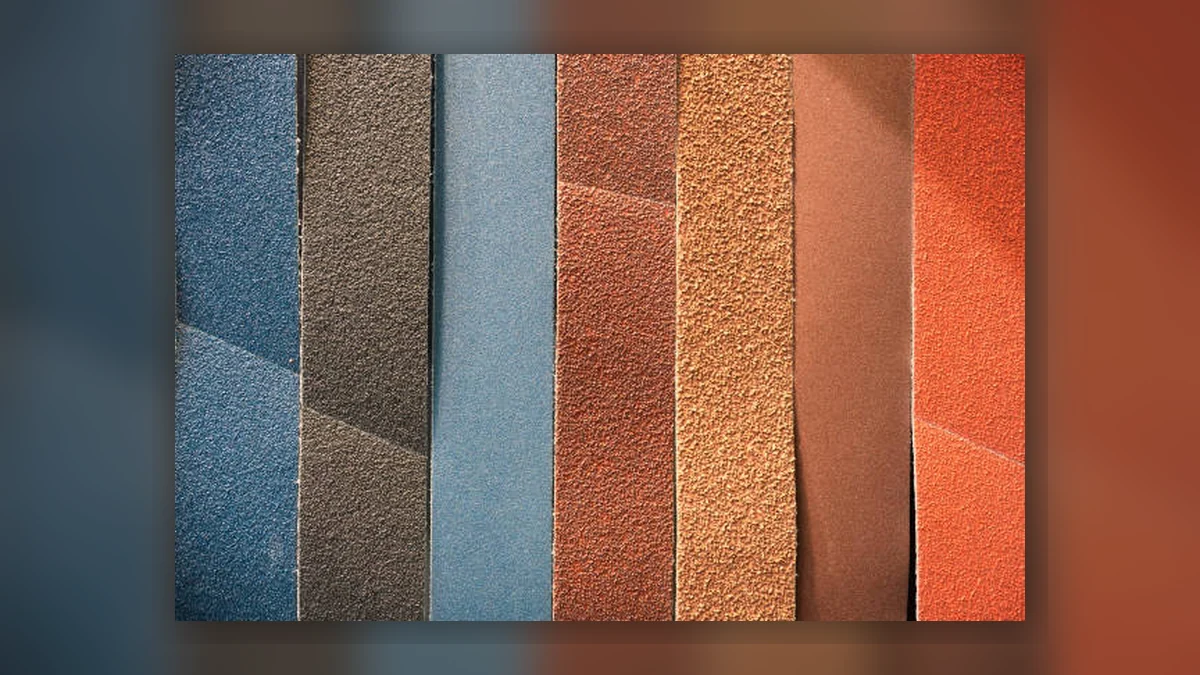
Sandpaper is one of those consumables that most people underestimate until they ruin a surface with the wrong grade. The difference between a job that looks professional and one that does not often comes down to whether you moved through the right sequence, or grabbed the closest sheet and hoped for the best.
This is a practical guide to sandpaper grit ratings for UK tradespeople and DIYers, covering what the numbers mean, what each grade is actually for, and how to read the backing material to make sure you are using the right product for the task.
What Does the Grit Number Mean?
The number on a sheet of sandpaper refers to the grit size, which is the size of the abrasive particles bonded to the backing. The system used in the UK and Europe is the FEPA standard, indicated by a P prefix (P40, P80, P120, and so on).
The lower the number, the coarser the abrasive. P40 has large, aggressive particles that remove material quickly but leave a rough surface. P400 has very fine particles that cut slowly and leave a smooth, polished surface.
The practical shorthand most tradespeople use divides sandpaper into four broad groups.
Coarse Grades: P40 to P80
Coarse sandpaper is for material removal, not finishing. You reach for P40 to P80 when you need to take off old paint, strip a rough surface, level a floor, or remove mill marks from timber.
Think of it this way: P40 is aggressive. On soft timber, it will leave visible scratches that you absolutely must sand out before painting. Use it on tasks where speed matters more than surface quality, and where you are going to follow up with finer grades. Taking old paint off a front door with an orbital sander and P60 is a sensible starting point. Painting over P60 scratches is not.
P80 is the upper end of coarse. It is a reasonable starting point for badly weathered or rough-sawn timber where you need some bite before moving to the mid-range grades.
Medium Grades: P100 to P150
This is the working range for most UK trade surface preparation. P100 to P150 is where you do the bulk of the work once material removal is done.
P100 removes the coarse scratch marks from the previous grade and begins to produce a surface that starts to feel smooth to the hand. P120 is a widely used general-purpose grade for timber preparation. P150 is where a lot of timber painting and decorating preparation ends if the surface quality is already reasonable.
For filler and patching work, P120 to P150 is the right range to flat off dried filler before painting. Go coarser and you risk digging into the surrounding surface. Go finer and the filler takes too long to cut back.
Fine Grades: P180 to P240
P180 to P240 is the pre-paint and pre-finish range. After thorough preparation with medium grades, finishing with P180 or P240 removes the micro-scratches that coarser grades leave and creates a surface that holds paint, varnish, or oil evenly.
On hardwoods, P180 and P240 do most of the finishing work. Hardwood like oak or ash benefits from finer preparation because the grain is tighter and the final surface quality is more visible.
P240 is also the right grade for keying between coats of paint or varnish: scuff the previous coat with P240 on a block, wipe off the dust, and the next coat has a mechanical key to hold onto.
Very Fine Grades: P320 and Above
P320 upwards is the decorator and finishing carpenter's territory. These grades are used between coats of high-build primer, between lacquer coats, and for the final denib of a painted surface before the last coat goes on.
At this level you are not removing much material. You are smoothing microscopic imperfections and creating a surface that reflects light evenly. The scratch pattern from P320 is too fine to be visible in a standard paint finish, which is exactly the point.
P400 and above starts to cross into automotive refinishing and cabinetmaking. For most trade painting and joinery work, P320 is as fine as you need to go.
Backing Materials: Paper, Cloth, and Foam
The number is only half the story. The material the abrasive is bonded to affects how the sheet performs.
Paper backing is the standard for most hand sanding and flat orbital sanding. It comes in different weights (A-weight is light and flexible, C and D weights are heavier and more durable). Heavier paper backing lasts longer under hard use. Light paper is better for hand sanding curved profiles.
Cloth backing is used where the sandpaper needs to flex without tearing: sanding belts, drum sanding on floors, and hand sanding curved or profiled surfaces where paper would split. Cloth-backed abrasives cost more but last significantly longer on demanding tasks.
Foam backing is used for sanding contoured surfaces, mouldings, and profiled edges where you need the abrasive to conform to the shape. A foam sanding block on a door moulding gives you consistent contact that a flat sheet cannot.
Hook-and-loop (Velcro) discs are the consumable format used in random orbital sanders. The FEPA grit rating still applies; the disc format is just designed for the machine rather than the hand.
A Simple Sequence for Timber Finishing
If you are preparing bare timber for paint or oil, a sensible sequence is:
Start at P80 or P100 to knock back any rough areas, mill marks, or raised grain. Move to P120 to P150 for general preparation across the surface. Finish with P180 or P240 before the first coat of paint or primer. Between coats, use P240 to key the surface. After the final coat or before a topcoat in a high-quality job, P320 for a denib.
You do not need to use every grade in sequence. The aim is to ensure that no scratch pattern from one grade is visible after the next grade has been applied. If P80 scratches are still showing through P120, you did not sand the P80 scratches out thoroughly enough.
Dust and Safety
Sanding generates fine dust, and some dusts are hazardous. Hardwood dust, particularly from oak, beech, and ash, is classified as a carcinogen. MDF dust is harmful due to the resin binders. Old paint dust may contain lead if the building predates the mid-1980s.
Dust extraction is not optional on professional jobs. A sander connected to a dust extractor, combined with an FFP2 or FFP3 mask when extraction is not sufficient, is the standard approach. Keep the extractor bag or filter clean: a clogged extractor is nearly useless.
What grit sandpaper should I use on wood before painting?
For most UK trade and DIY painting jobs, prepare bare timber with P120 to P150, then finish with P180 or P240 before primer. Use P240 between coats and P320 for a final denib on high-quality work.
What is the difference between P80 and P120 sandpaper?
P80 is coarser and removes material faster but leaves deeper scratches. P120 is finer, works more slowly, and leaves a smoother surface. P80 is for material removal; P120 is for general preparation and moving toward a finish-ready surface.
Can I use sandpaper on metal?
Yes. For steel and aluminium, use aluminium oxide or zirconia abrasives rather than standard woodworking sandpaper. P80 to P120 for material removal and rust removal, P180 to P240 for preparation before primer, P320 and above for between-coat keying on automotive or metalwork finishes.
What does the P prefix mean on sandpaper?
The P prefix stands for FEPA (Federation of European Producers of Abrasives), the European standard for abrasive grit sizes. P-graded sandpaper is the standard across the UK, Europe, and most professional markets.
How do I know when to change to a finer grit?
When the scratch pattern from the current grade is uniform across the surface and you cannot see deeper scratches from the previous grade, you are ready to move up. Rushing through grades means the previous grade's scratches show through the finish.
Is finer always better for sandpaper?
Not if you need to remove material. Trying to flatten a rough surface with P240 takes far longer than using P80 or P100 first. Start coarser, work finer, and use each grade for what it is designed for. ---