
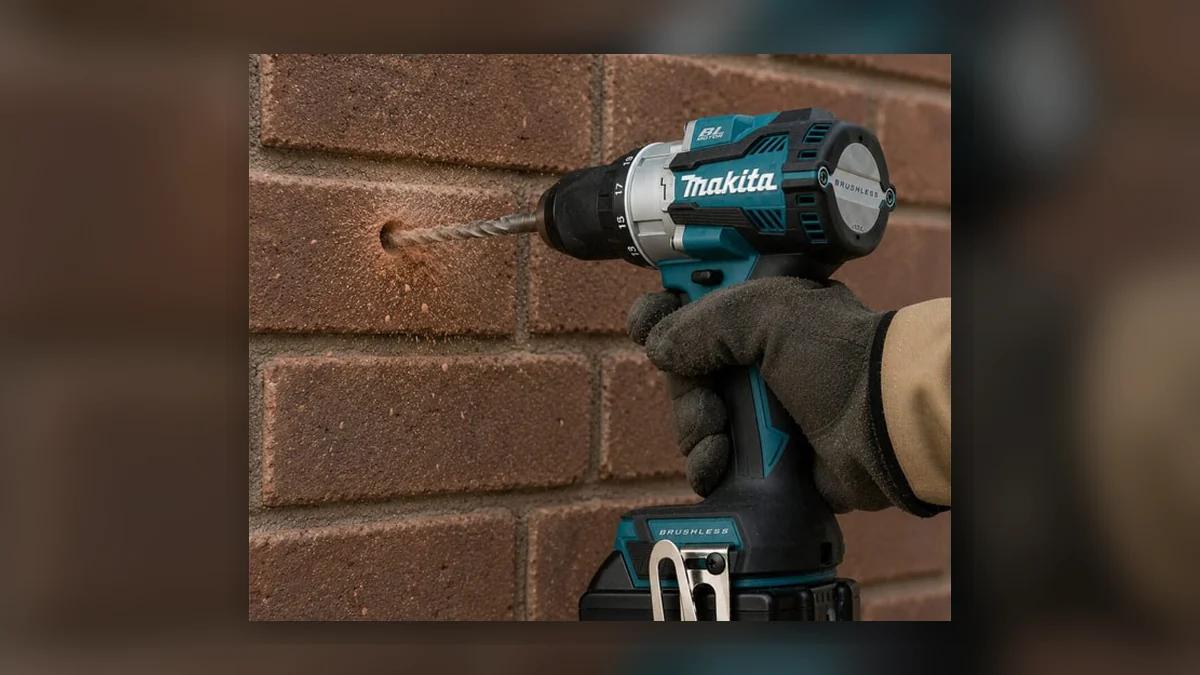
Brick looks solid but it is more brittle than it appears. Hit it with a drill bit at the wrong speed, in the wrong spot, or at the wrong angle, and you end up with a crack that runs through the face of the brick, along the mortar line, or in both directions. Getting it right is mostly a matter of using the right bit, setting up correctly, and taking the first few seconds of each hole carefully.
This guide covers masonry drilling into standard UK clay bricks and concrete blockwork. Engineering bricks and hard stone call for heavier kit, covered in the SDS section below.
---
What you need
Drill: A cordless combi drill in hammer mode is fine for most fixing holes into brick up to about 12mm diameter. For anything larger, or for drilling frequently into dense block or concrete, an SDS Plus drill makes the job considerably faster and easier and reduces the risk of cracking from prolonged hammering in one spot.
Bit: A masonry bit with a carbide tip. These have a distinctive broad, angled tip that looks different from a standard twist drill. For hammer drilling, use a bit rated for hammer use; some cheaper masonry bits are for rotary-only use and will dull quickly or shatter under percussive loading. Check the packaging.
Bit diameter: Match the bit to your fixing. Most wall plugs for general fixings (shelving brackets, radiator brackets, coat hooks) use a 6mm or 7mm bit with a corresponding red or yellow wall plug.
Depth stop or tape: Mark the target depth on the bit with a depth stop collar or a wrap of tape. A fixing that goes too deep into a cavity wall can miss solid brick and end up unsupported.
---
Step by step
1. Mark the spot carefully. Avoid the middle of the brick face where possible; aim for the mortar joint if the fixing allows it, particularly near the edge of a wall or a corner. Mortar is softer than brick and is less likely to crack or spall. If you must drill into the brick face, stay well away from the edge.
2. Check for pipes and cables. Before any masonry drilling, scan the wall with a pipe and cable detector. This is non-negotiable. Severing a mains cable in a brick wall is dangerous and expensive. Running a detector across the area takes thirty seconds.
3. Start slow. Set the drill to low speed (or SDS to its lowest setting) and without the hammer function active, press the bit gently into the brick surface to create a small starter indent. This stops the bit wandering across the face before you get going. Once you have a clean start point, engage hammer mode.
4. Apply steady pressure. Let the hammer action do the work. Pushing too hard does not speed the process up and can crack the brick. Consistent, firm but not aggressive pressure, combined with the hammer, breaks the material cleanly. Keep the drill at a right angle to the wall.
5. Clear the hole as you go. Pull the bit out every few seconds and let the dust and debris clear from the flute. A hole packed with brick dust grinds against the bit and generates heat. On SDS drills, the bit reciprocates enough to self-clear, but on combi drills in hammer mode you need to do this manually.
6. Stop before the wall breaks through. If you are drilling through to the other side (for a through-bolt or a pipe), reduce pressure significantly as you approach the exit face. Driving through hard at the last moment can blow out a large chunk of brick or block on the reverse side.
---
Drilling near the edge of a brick
The most common cause of cracking is drilling too close to the edge, either the edge of the wall or the edge of the brick. Brick has compressive strength (it handles weight pressing down on it) but relatively poor tensile strength (it handles being pulled apart less well). When you drill near an edge, the material between the hole and the face is thin. The percussive action can split that thin section away.
As a rule of thumb: keep at least 40mm from the finished edge of a brick or the corner of a wall. If you cannot achieve that with the fitting you are using, use a finer bit, drill slowly without hammer, and apply minimal pressure near the exit.
---
When a combi drill is not enough
Standard clay bricks respond well to a combi drill in hammer mode. Some materials resist it:
- Engineering bricks: Much denser than standard facing or common brick. You can drill these with a good quality combi in hammer mode, but an SDS Plus is considerably faster and reduces the risk of overheating the bit or cracking the brick under prolonged hammering.
- Hard concrete lintels and reinforced concrete: Require an SDS drill. Combi hammer mode lacks the striking energy to break the aggregate efficiently. If you feel the bit grinding without making progress, switch to SDS rather than forcing it.
- Aircrete blocks (Thermalite, Celcon etc.): The opposite problem. Aircrete is soft and the drill can plunge through unexpectedly. Use rotary only (no hammer), low speed, and very light pressure. Hammer mode in aircrete is unnecessary and can cause the block to crumble around the hole.
---
Fixing into the hole
Once the hole is drilled, blow or brush out the dust before inserting a wall plug. A hole packed with dust lets the plug float rather than grip the walls. For fixings that need to carry real weight (shelving, radiators, boiler brackets), use a rated anchor bolt or frame fixing rather than a plastic wall plug, and check the manufacturer's load rating for the substrate you are drilling into.
---